TM 10-4520-262-12&P 0006 00
0006 00-10
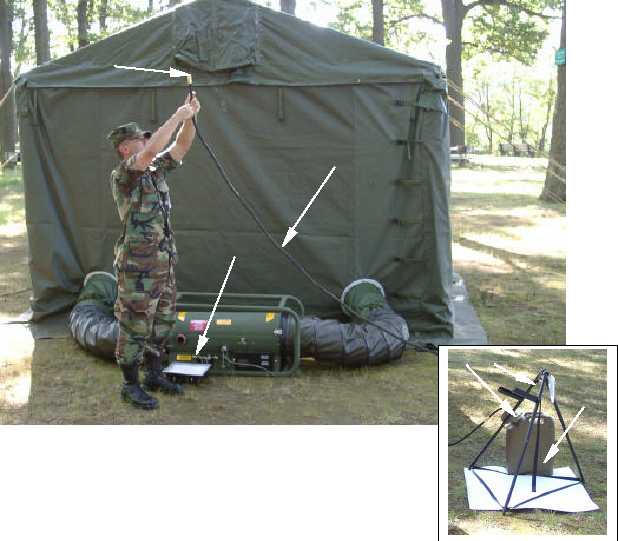
Make sure fuel hose (5) lies flat on the ground and is not looped or kinked.
Heater assembly is now ready for operation. Make sure heater setup has not been changed, ducts and
pipes are properly positioned, and heated air is directed in a safe manner. See applicable setup
instructions in this section to confirm correct setup.
Place the heater ON/OFF switch (1) of the in-tent controller assembly (2) in the ON position and verify
that green HEATER ON/ON-HOLD light (3) is lit. (Refer to troubleshooting if light is not on). At a
minimum, allow the heater to run through a complete charging cycle. A charging cycle starts when the
heater ON/OFF switch is moved to the ON position and ends when green BATTERY CHARGED light (4)
comes on.
If heat is no longer desired, place the heater ON/OFF switch (1) in the OFF position and verify that the
blower fans stop after post-purge. Cool down is then complete.
1
2
3
4
5
6