
TM 10-4500-200-13
Section Ill. MOVEMENT TO A NEW WORK SITE
(2) Type II and Type I with Conversion Kit installed.
Make sure that the fuel has been drained from the fuel
a. Dismantling.
(1) Type I without Conversion Kit installed. Make
lines, burner and control valve.
sure that the heater is clean and free of ashes, soot, and
(3) Remove the air conditioning-heating pipe (smoke
pipe) shield.
burnt fuel.
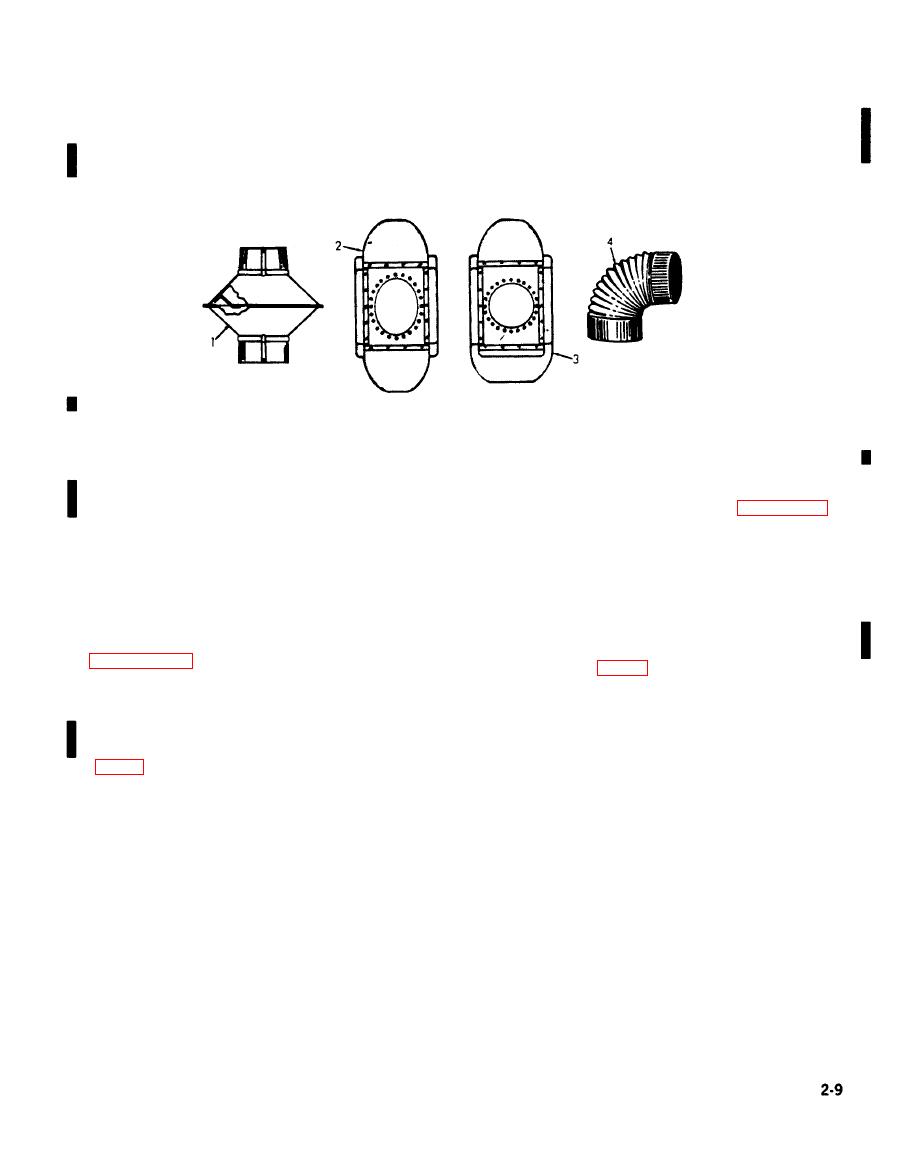
1 Arrestor, spark (Type I without Conversion Kit installed)
3 Shield, smoke pipe
4 Pipe, air conditioning-heating (smoke-pipe)
2 Shield, smoke pipe
b. Reinstallation After Movement. Reinstall the space
(4) Type II and Type I with Conversion Kit installed.
heater at the new work site as directed in paragraph 2-7.
Remove the fuel lines.
(5) If the unit is being moved to another space in the
same area, it can be hand-carried.
Section IV. CONTROLS AND INSTRUMENTS
2-9. General
version Kit installed)
provide the operator/crew with sufficient information to
amount of fuel that flows to the burner. Two knobs located
insure proper operation of the space heater.
on the valve cover plate regulate the fuel as it enters and
leaves the valve. The valve is equipped with an overflow
outlet for drawing off excess fuel in emergencies.
installed)
b. ON-OFF Knob. The ON-OFF knob governs the fuel
supply entering the float chamber of the valve. It has two
positions, ON and OFF, indicated on the cover plate.
Heat output can be regulated by varying the ashpit door
c. Flow Adjustment Knob. The flow adjustment knob
opening and by turning the damper in the air conditioning-
governs the amount of fuel flowing from the float chamber
heating pipe (smoke pipe).
of the valve to the burner. The amount of fuel desired is
indicated by means of a pointer set on the adjustment knob
scale, ranging from O to 9. The metering stem is always
open sufficiently to permit the flow of enough fuel to main-
tain a pilot flame to the burner. The pointer is set at 9 to
start the fuel flow to the burner and then turned back to 0
before lighting.
Change 14
