TM 10-4500-200-13
(3) Refer to figure 2-5 and remove thegrate fromthe
c. Installation.
heater body.
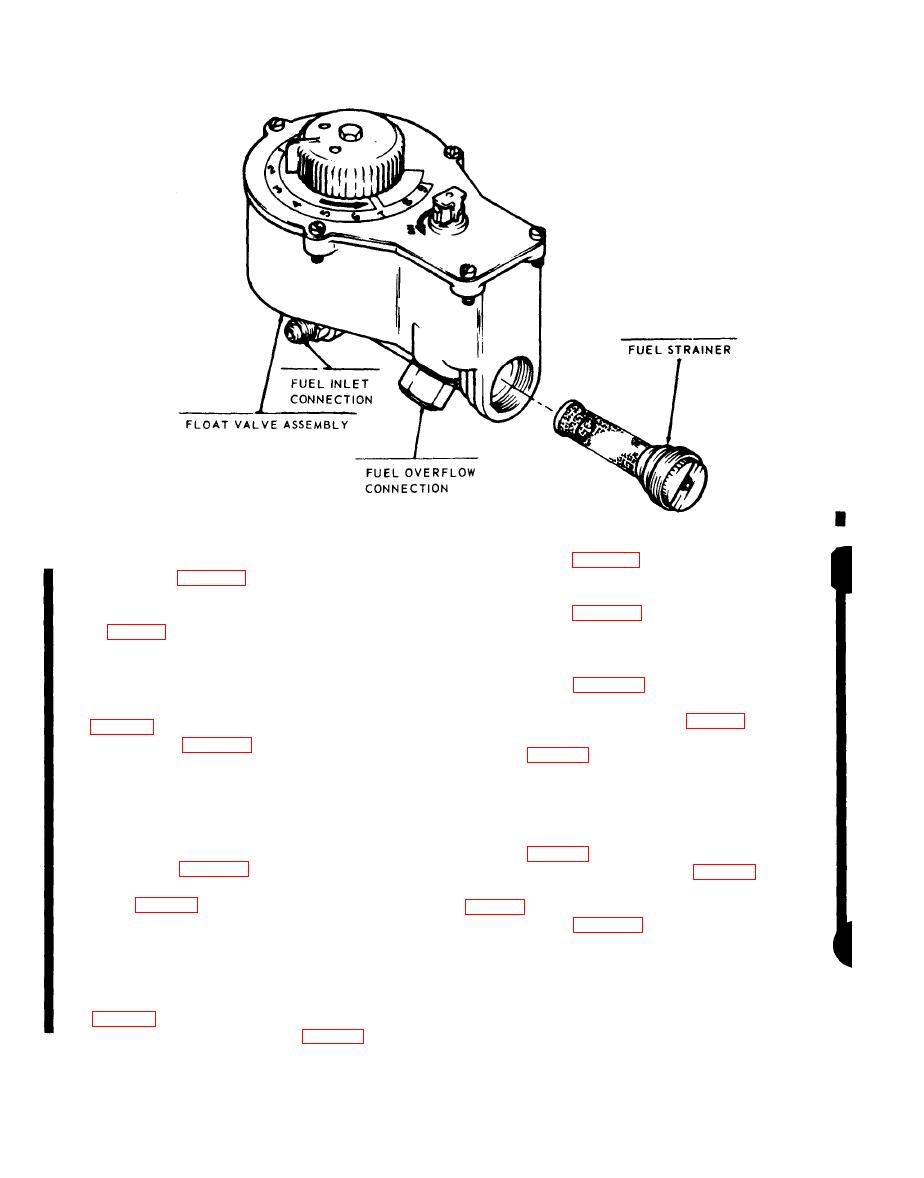
(1) Refer to figure 2-5 and install the float valve on
b. Cleaning.
the oil-pot burner.
(1) Refer to figure 2-5 and clean grate. Check grate
(2) Install the fuelhose andoverflow hoseon the float
for proper operation.
valve (para 2-30).
(2) Replace a defective grate.
c. Installation,
(1) Refer to figure 2-5 and install the grate in the
a. Removal.
heater body.
(1) Remove airconditioning pipe from space heater
(2) Install the space heater top(para 2-32).
top (para 2-26).
(3) Install the air conditioning pipe on the space
(2) Refer to figure 2-5 and remove the space heater
heater top (para 2-26).
top.
b. Inspection.
(1) Inspect the heater body top for cracks, distortion,
Conversion Kit installed)
and holes burned through metal body.
a. Removal.
(2) Replace a defective space heater top.
(1) Remove theairconditioning pipe fromthe space
c. Installation.
heater top (para 2-26).
(1) Refer to figure 2-5 and install theheatertop.
(2) Remove thespace heater top (para 2-32).
(2) Install the air conditioning pipe on the space
(3) Remove the float valve from the oil-pot burner
heater top (para 2-26).
(4) Refer to figure 2-5 and remove theoil-pot burner
from the space heater body.
installed)
b. Cleaning and Inspection.
(1) Clean burner, but do not scrape it. Allow a thin
a. Removal.
layer of carbon to remain on bottom of burner pot. Carbon
(1) Remove theairconditioning pipe fromthe heater
will protect metal and aid in starting fire.
top (para 2-26).
(2) lean small holes in burner pot with match stick or
(2) Remove thespace heater top (para 2-32).
wooden peg.
Change 14


